Showing posts with label wedding favours. Show all posts

Sunday, 29 September 2013

Tutorial and Recipe: Raspberry Jam

The second jam I wanted to make after the "kinda blue" blueberry-nutmeg jam was a nice, deep red, to reflect the red in my wedding colours.  I looked around for other recipes, but I really had my heart set on the gorgeous, jewel-like colours of raspberry jam. Having made it before, I knew how to make it, how easy it would be, and what to expect.

I had originally hoped to recreate a Raspberry-Chambord jam my classmates and I made in Year 2 of Pastry School, but I was unsuccessful in finding the proper raspberry liqueur, so I left it out and let the razzies I had picked myself and frozen at the peak of their ripeness do the talkin'!

Please excuse the shoddy jam labels; totally my fault.  My Photoshop-talented bridesmaid, Katrina, had made some amazeballs labels for all three of the jams, but because I couldn't decide on my "yellow" jam until it was too late to order the labels, I had to make do with my own unprofessional-looking, hand-printed labels.  However, since this *is* my blog, I am giving these labels another chance at celebrity, so all can see her awesomeness!

This is the label she created for me for the raspberry jam:
Awwwriiiight!
So anyway, here is the recipe and the tutorial for making this delicious jam!

Raspberry Jam 
Original Source: Bernardin online 
Makes about 6 x 250 ml jars 
  • 4 cups (1000 ml) raspberries, fresh, or frozen and completely thawed
  • 1 pouch (85 ml) Liquid Pectin
  • 6 -1/2 cups (1625 ml) granulated sugar

Place 6 clean 250 ml mason jars on a rack in a boiling water canner; cover jars with water and heat to a simmer (180°F/82°C). Set screw bands aside. Heat sealing discs in hot water, not boiling (180°F/82°C). Keep jars and sealing discs hot until ready to use.

Push about half of the raspberries through a sieve (not a colander) to separate from the seeds; capture as much of the pulp as you can; discard the seeds. Recombine with unseeded raspberries. If you prefer a totally unseeded jam, you can de-seed the entire amount of raspberries; if you are doing do, I'd add another cup of raspberries to the total, to make up for volume lost through de-seeding.

In a large, deep stainless steel saucepan, stir together prepared fruit and all of the sugar. Over high heat, bring mixture to a full rolling boil that cannot be stirred down. Add liquid pectin, squeezing entire contents from pouch. Return to boil; boil hard 1 minute, stirring constantly. Remove from heat and skim off foam.

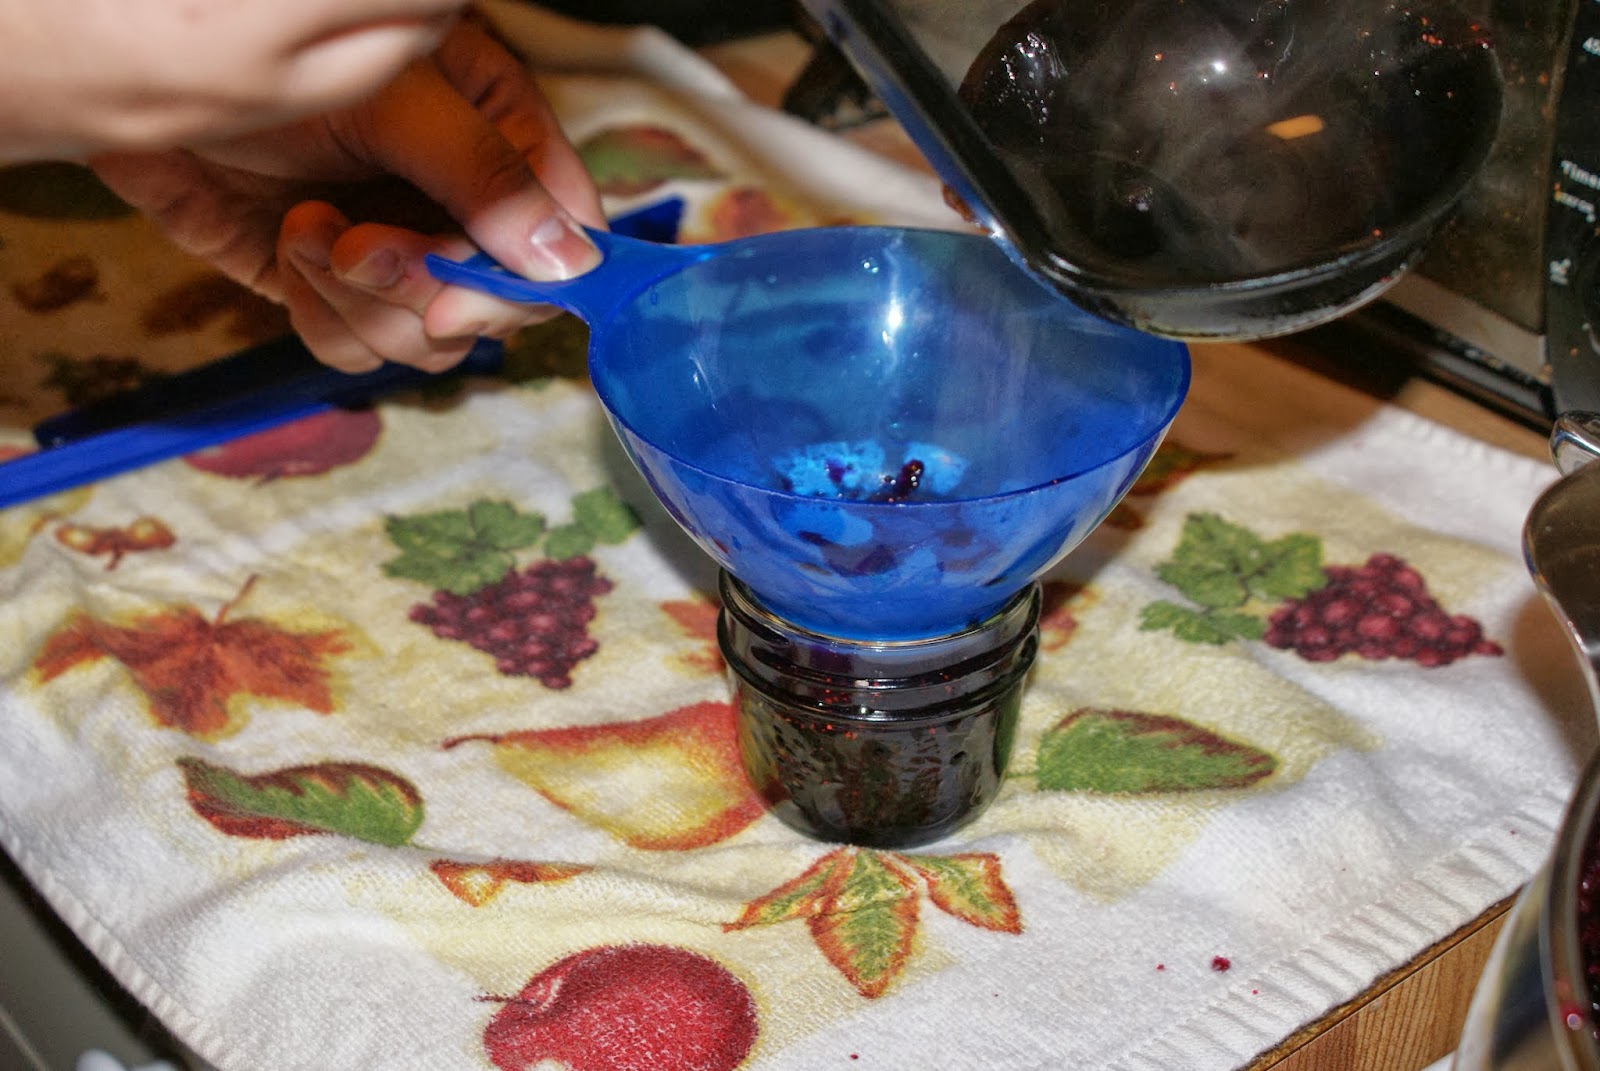
Ladle hot jam into a hot jar to within 1/4 inch (0.5 cm) of top of jar (headspace). Using nonmetallic utensil, remove air bubbles and adjust headspace, if required, by adding more jam. Wipe jar rim removing any food residue. Centre hot sealing disc on clean jar rim. Screw band down until resistance is met, then increase to fingertip tight. Return filled jar to rack in canner. Repeat for remaining jam.


When canner is filled, ensure that all jars are covered by at least one inch (2.5 cm) of water. Cover canner and bring water to full rolling boil before starting to count processing time. At altitudes up to 1000 ft (305 m), process (i.e. boil filled jars) for 10 minutes.

When processing time is complete, turn stove off, remove canner lid, wait 5 minutes, then remove jars without tilting and place them upright on a protected work surface. Cool upright, undisturbed 24 hours; DO NOT RETIGHTEN screw bands.

After cooling check jar seals. Sealed discs curve downward and do not move when pressed. Remove screw bands; wipe and dry bands and jars. Store screw bands separately or replace loosely on jars, as desired. Label and store jars in a cool, dark place. For best quality, use home canned foods within one year.

Friday, 27 September 2013

Tutorial and Recipe: Blueberry Nutmeg Jam


Being a baker as well as a full-time administrative professional can lead to certain...expectations on the part of friends and family at times.  This was in evidence at my wedding, too!  I just *knew* that if I didn't make my own cake and do the dessert table myself, my guests would be asking why I didn't provide the desserts, considering it's not only what I do for a living, but my passion?

Well, that's what I imagined they would say, anyway...

The same thing applied to my choice of wedding favours as well. My three reasons: 1) I wanted to make something that would not only be appreciated at the moment of the giving, but later on, after the wedding was but a distant memory; 2) It was important to me to not just give out some cheap little piece of bric a brac that would be shoved in a cabinet and forgotten about, donated, thrown away, or broken within a few short months, and 3) I wanted to share my love of and skill in baking and desserts with the people I loved the most!

So, what is a gift that satisfies these criteria?  Food, of course! To that end, I decided on making three delicious homemade jams, with the jam colours consistent with my wedding colours -- or at least as close an approximation as I could get. I processed them in cute little 125 mL jars, and let guests choose which jams -- and how many -- they would like to take home with them.

This tutorial and recipe is for the Blueberry Nutmeg Jam one of my amazing bridesmaids and I made in the month leading up to my August wedding:

Blueberry Nutmeg Jam

Step 1: Prepare your workspace. From left to right you see screw-bands (for holding the lid inserts on the jars), a head-space gauge (the blue stick), a jar lifter, jars, and a canning funnel (not pictured, inserts and lid lifter magnet).

While you don't technically need anything other than the jars, lids, and screw-bands, these other supplies make the process of making jam much easier and safer.

Step 2: Prepare your canner. If you don't own a canner (see photo), a large, deep pot will do. To avoid the jars touching the bottom of the pot, crumple up some tinfoil and flatten into a circle slightly smaller than your pot's diameter. Rest the jars on the foil disk when placing them in the canner for processing.

The most important thing to ensure is that the pot's sides are high enough that water will be able to cover the tops of the jars when they are submerged.


Bring water to a rolling boil on your stove (one of the back burners). Add your jars and process them in the boiling water bath for 5 minutes, then turn down the heat to a simmer until needed.

 
Step 3: Meanwhile, prepare your lid inserts.  While it's not necessary to boil the screw-bands, the lid inserts do need to be boiled briefly to sterilize them and activate the glue band.  Once the pot comes to a boil, turn down to a simmer and keep it handy.


Step 4: Recipe!
Blueberry Jam
(Original Recipe and instructions courtesy of De Bernardin website)

Yield: 8 x 250 ml jars, or 16 x 125 mL jars
To make this jam, you will need the following ingredients:
  • 4- 1/2 cups (1125 ml) fresh blueberries, about 4 pints (2 L)
  • 1 tsp freshly ground nutmeg
  • 4 tbsp (60 ml) lemon juice
  • 2 pouches (170 ml) Liquid Pectin
  • 7 cups (1250 ml) granulated sugar
Rinse blueberries, add to a large, deep, stainless steel saucepan, and crush roughly with a potato masher (this may be easier to do 1 cup at a time). 

Add the lemon juice, nutmeg, and all the sugar, and stir together to combine. 


Over high heat, bring mixture to a full, rolling boil that cannot be stirred down.


Add both packets of liquid pectin together, squeezing entire contents from both pouches. Stir into mixture to completely combine; bring back to a full, hard boil for one full minute, stirring constantly.  Remove from heat, skim off foam and discard.

Ladle hot jam into a hot jar to within 1/4" of top of jar (headspace). Using a nonmetallic utensil, remove air bubbles and adjust headspace, if required, by adding more jam. Wipe jar rim removing any food residue. 


Center hot sealing disc on clean jar rim. 


Screw band down until resistance is met, then increase to fingertip tight. 


Return filled jar to rack in canner. Repeat for remaining jam.
When canner is filled, ensure that all jars are covered by at least 1" of water. Cover canner and bring water to full rolling boil before starting to count processing time. 

At altitudes up to 1000 ft (305 m), process (boil filled jars) for 10 minutes.


When processing time is complete, turn stove off, remove canner lid, wait 5 minutes, then remove jars without tilting and place them upright on a protected work surface. Cool upright, undisturbed, for 24 hours; DO NOT RE-TIGHTEN screw bands.
After cooling, check the jar seals. Sealed discs curve downward and do not move when pressed. Any jars that move up and down (making the *poink!* sound), are for the refrigerator only and are good for up to two weeks.

Remove screw bands; wipe and dry bands and jars to minimize rusting. Store screw bands separately or replace loosely on jars, as desired.  Label jars, and store in a cool, dark place. 

For best quality, use home canned foods within one year.


Thursday, 26 September 2013

Tutorial and Recipe: Pineapple-Vanilla Bean Jam


This was the third and final of my three jams I made for my wedding favours last month. 

I had a difficult time trying to decide which preserve I would make to follow as closely to my "yellow" wedding colour; I was originally considering:
  • Lemon curd (rejected due to it needing refrigeration and having a short shelf life due to the eggs in the recipe),
  • Meyer Lemon Marmalade (ultimately rejected because the season for Meyer lemons was August, therefore kind of late for me; they are very difficult to find even within season; and they are heinously expensive), and 
  • Caramel sauce (rejected because it was more tan than yellow, and it also needs refrigeration due to the cream in the recipe).
When I found and read over this recipe for pineapple jam, I was so relieved!  Not only was it simple and inexpensive to make, the ingredients list was stuff I actually already had on hand. Score!

As you can see from the picture, the colour came out a beautiful, sunny yellow, and I was a happy camper.

My Photoshop-talented bridesmaid (at least in comparison to me) made up some incredibly amazing jam jar labels for my three jams, but I was a derp and didn't decide on the pineapple jam in enough time, so I couldn't get them printed in time...hence my narsty printing on the labels.  The very least I can do is show off how awesome the professional-grade labels are that she slaved over in these posts!
Ta Da!!!!

Recipe and a step by step tutorial on how to make this jam is below!

Pineapple-Vanilla Bean Jam 
Original recipe: courtesy of pickyourown.org
Yield: About 4 or 5 half-pint (8oz.) jars
Best Before: 12-18 months post-processing

  • 1-20-ounce can of crushed pineapple, undrained
  • 1 vanilla bean, split and scraped
  • 3 tbsp lemon juice
  • 3-1/2 cups of granulated sugar, divided
  • 1-1/2 packets powdered pectin
  • Jar funnel and jar grabber 
  • 1 large saucepan
  • 1 large ladle
  • 1 Canner(sides must be high enough to cover the tops of your chosen jars with 1" to spare
  • Ball or Mason jars, lids, and rings
Step 1 - Gather the Ingredients

Gather the ingredients. In this case, canned pineapple works better, due to its consistency.

Step 2 - Get the jars and lids washed

While you don't need to sanitize the jars prior to filling them, they do need to be washed in hot, soapy water so the jars are clean and hot, and less likely to crack when you put boiling hot fruit in them. I usually like to be safe rather than sorry, so I put my freshly washed jars into my canning bath and boil them for a couple of minutes; that way they are squeaky-clean and hot by the time I'm ready to fill the jars. I take them out of the canner one at a time using rubber-tipped tongs to avoid chipping the glass.


Lids:  Put the lids into a pan of hot water for at least several minutes; to soften up the gummed surface and clean the lids.


Step 3 - Mix the pineapple with the pectin

Mix the pectin with 1/4 cup of the sugar (set the rest of the sugar aside for now).  This helps to keep the pectin from clumping up.
 

Stir the pectin/1/4 cup sugar mixture into the chopped fruit. Put the mix in a big pot and put it on the stove.

Notes about pectin: With pineapple I usually add about 50% more pectin (just open another pack and add about half) or else the jam is runnier than I like. BUT pineapple usually thickens pretty well, so try 1 packet and see how well it thickens. With a little practice, you'll find out exactly how much pectin to get the thickness you like. 


Step 4 - Bring to a boil

Add the vanilla bean and seeds, and bring the mixture to a full boil. 

Step 5 - Add the sugar and return to a full boil

Add the remaining sugar (about 3.25 cups) and the lemon juice, and bring the mixture back to a full boil.  Once it hits a full, rolling boil, stir and boil for 1 minute.


Step 6 - Fill the jars and put the lid and rings on

Fill them to within ¼-inch of the top, wipe any spilled jam off the top, seat the lid and tighten the ring around them. Then put them into the boiling water canner!

Step 7 - Process the jars in the boiling water bath


Keep the jars covered with at least 2 inches of water. Keep the water boiling. Boil them for 5 minutes (at sea level; see the table below for times at other altitudes).

 Recommended process time for Pineapple Jam in a boiling water canner.

Process Time at Altitudes of
Style of Pack
Jar Size
0 - 1,000 ft
1,001 - 6,000 ft
Above 6,000 ft
Hot
Half-pints
or Pints
5 min
10
15


Step 8 - Done

Lift the jars out of the water and let them cool without touching or bumping them in a draft-free place (usually takes overnight). Once the jars are cool, you can check that they are sealed verifying that the lid has been sucked down. Just press in the center, gently, with your finger. If it pops up and down (often making a popping sound), it is not sealed. If you put the jar in the refrigerator right away, you can still use it. Some people replace the lid and reprocess the jar, then that's a bit iffy. If you heat the contents back up, re-jar them (with a new lid) and the full time in the canner, it's usually ok.


It may take up to two weeks for the jam to set and thicken up. It will be runny until then!

Once cooled, they're ready to store.   I find they last about 18 months.  After that, the get darker in color and start to get runny. They still seem safe to eat, but the flavor is bland.  So eat them in the first 12 to 18 months after you prepare them!